The Ultimate Guide to Squarespace Form Blocks
If you’re a small business owner, building strong relationships with your community and delivering outstanding customer service are key to becoming a trusted name in your industry.
Adding a form to your website is a simple and effective way for both new and existing customers to reach out. You can tailor the form to request the exact details you need, making it easier for visitors to share information that’s most relevan
The Form Block is one of the most versatile tools on Squarespace. You can use it to create contact forms, surveys, applications or any other type of form you like. These forms make use of text areas, dropdown menus, tick boxes and other features so you can collect the information you need from your website visitors.
Squarespace also has in-built style settings specific to the form block so you can customise the design of your forms to match your brand perfectly, creating a seamless user experience.
My free Squarespace Website Checklist has a whole section dedicated to Form Blocks, so you’ll know exactly how to set them up, test them and make sure that every submission goes where it’s supposed to.
Common Uses for the Form Block in Squarespace
Contact forms
Surveys
Applications
Event sign-up / RSVP
Feedback forms
Support or help requests
Quote or service request forms
How to Add a Form Block to Your Squarespace Website
Navigate to the page that you want to add the form to, then click Edit in the top left corner.
Click Add Block on the page section.
Select Form from the list of blocks.
Here is an example of a Squarespace Form Block with a few basic form fields:
An Overview of Squarespace Form Fields
Email
Capture email addresses for future connections
Text
for short answers e.g. Name
Text Area
Text field designed for longer / more detailed answers
Phone
Collect phone numbers with or without an area code
Checkbox
Visitors can choose multiple options from a checkbox list
Dropdown
Present a list for visitors to choose from - they can select one option only
Survey
A scale ranging from ‘Strongly Agree’ to ‘Strongly Disagree’. Great for gauging opinions.
Radio Buttons
Similar to checkboxes, but visitors can only pick one option
Line
Break up your form with a horizontal line for better readability. The line can include a title and description text.
Address
Collect postal addresses. Includes a country dropdown
Date & Time
Ask for specific dates and times. The information added here is based on your visitors’ browser location settings.
Website
For visitors to easily add in their website address.
Hidden
The secret field is designed to be used for data tracking purposes
Currency
Visitors can enter a specific amount of money
Password
Visitors can enter confidential information that will only be visible to you.
File Upload
Visitors can upload files - perfect for images, documents and more.
How to Customise Squarespace Form Site Styles
Any changes you make to you Squarespace Forms under the Site Styles menu will affect ALL the forms across your website.
If you have a particular form on your website that you want to style differently to the others, you can customise that particular Form Block. There are instructions on how to do this further down this blog post.
Once you’ve added your form, navigate to the Site Styles Panel by clicking on the paintbrush icon in the top right corner of your screen.

Then scroll down and click on the arrow next to the Forms tab.

Here you will find a long list of different customisation settings starting with the option to choose a preset Form Pack. Form Packs are pre-designed with all the settings already in place to ensure all the form fields are cohesive. Choosing a Form Pack is a great option if you’re looking for something quick and easy.

However, if you wanted to customise your form even further, there are a lot of different options.
Firstly, there is the Form Fields option. Form Fields can be customised whether you’ve chosen a Form Pack or not.
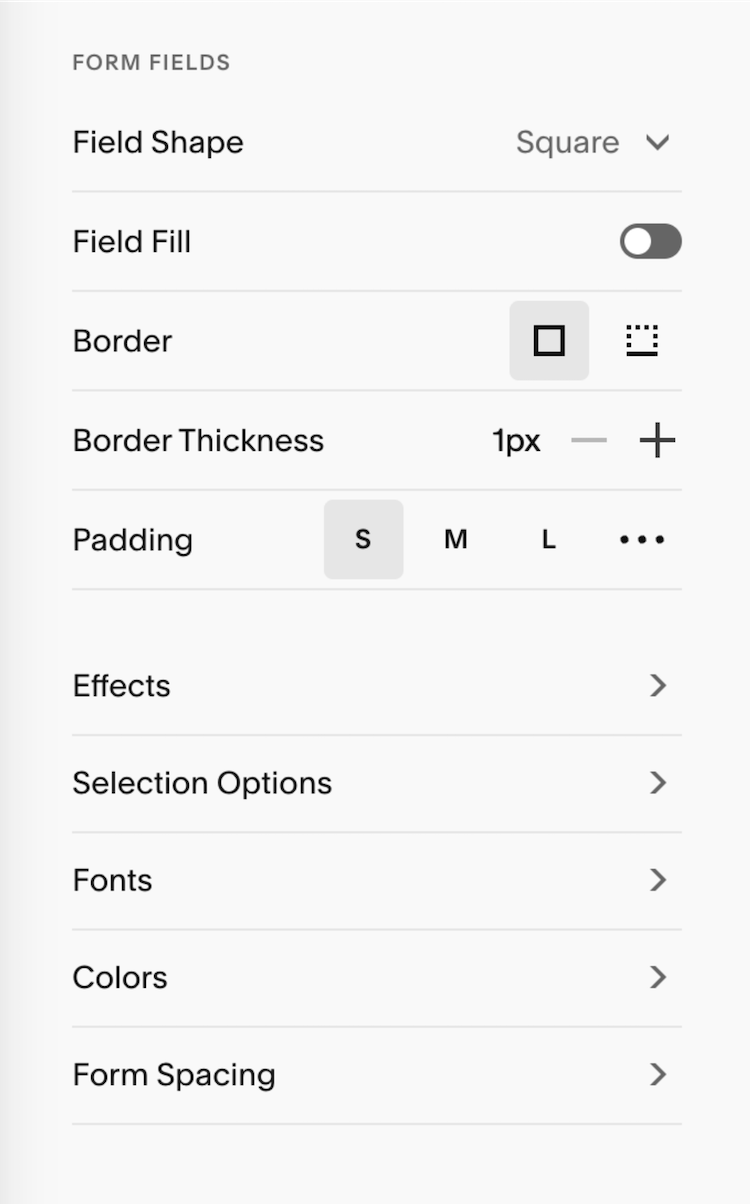
Field Shape: Choose between a square, rounded rectangle, or pill shape for the shape of your form fields, or choose custom corners to create your own unique shape.
Field Fill: Toggle this section on if you’d like for your fields to be filled with a solid color.
Border: Choose between a full border or a simple underline.
Border Thickness: Adjust the thickness of your chosen border.
Padding: Adjust the padding of the form field itself. You can choose from Small, Medium or Large, or click on the three dots to create your own custom padding.
Underneath the Form Fields settings, there are some additional options for customisations.
Effects - you can choose some unique Hover & Focus effects for your form fields and form button which will determine how your form looks when a cursor is rolled over it.
Selection Options - you can customise the settings for Checkbox, Radio and Survey fields.
Fonts - You can uniquely change the fonts for different elements of your form.
You can see my favourite Squarespace font pairings here.
Colors - The colours on your form will automatically take on the properties of whatever colour theme you are using. You can change the colours of your form here, and there is even an option to toggle off ‘Use a color theme’ if you prefer your forms to be a simple white a grey.
Form Spacing - You can adjust the spacing between different element in your form.
How to Customise Squarespace Form Blocks
In addition to customising your Squarespace form blocks via the site styles menu, you can also make changes to individual form blocks on your website. The changes you make to individual form blocks will affect that form block only, not the others across your website.
To access the Form Block settings, in Edit mode click on the form block and then on the pencil icon.
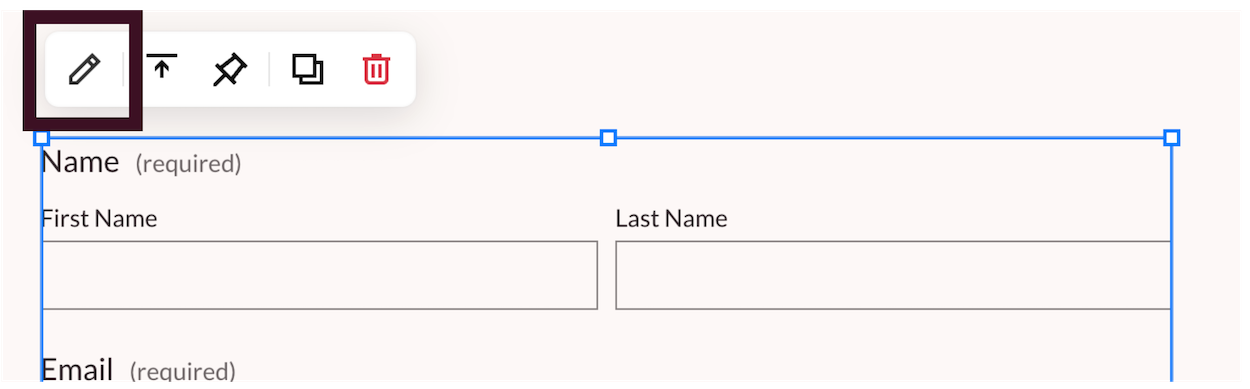
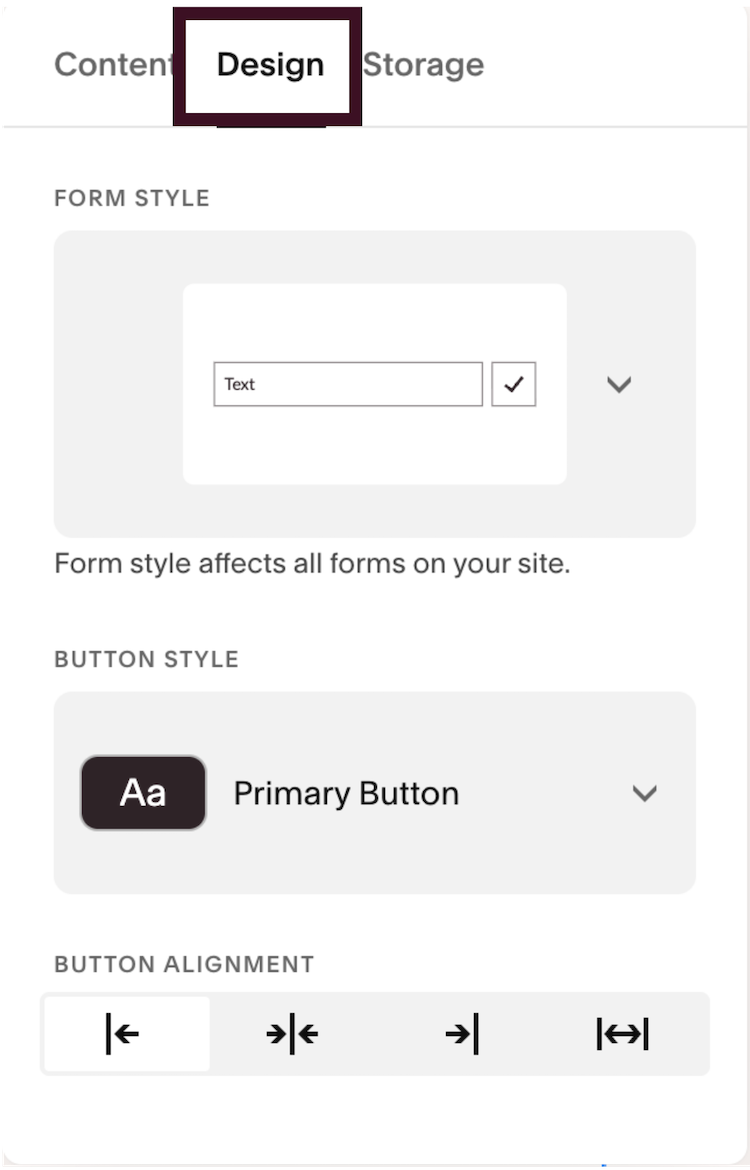
From here, click on the Design tab and you’ll see a list of different options for you to customise.
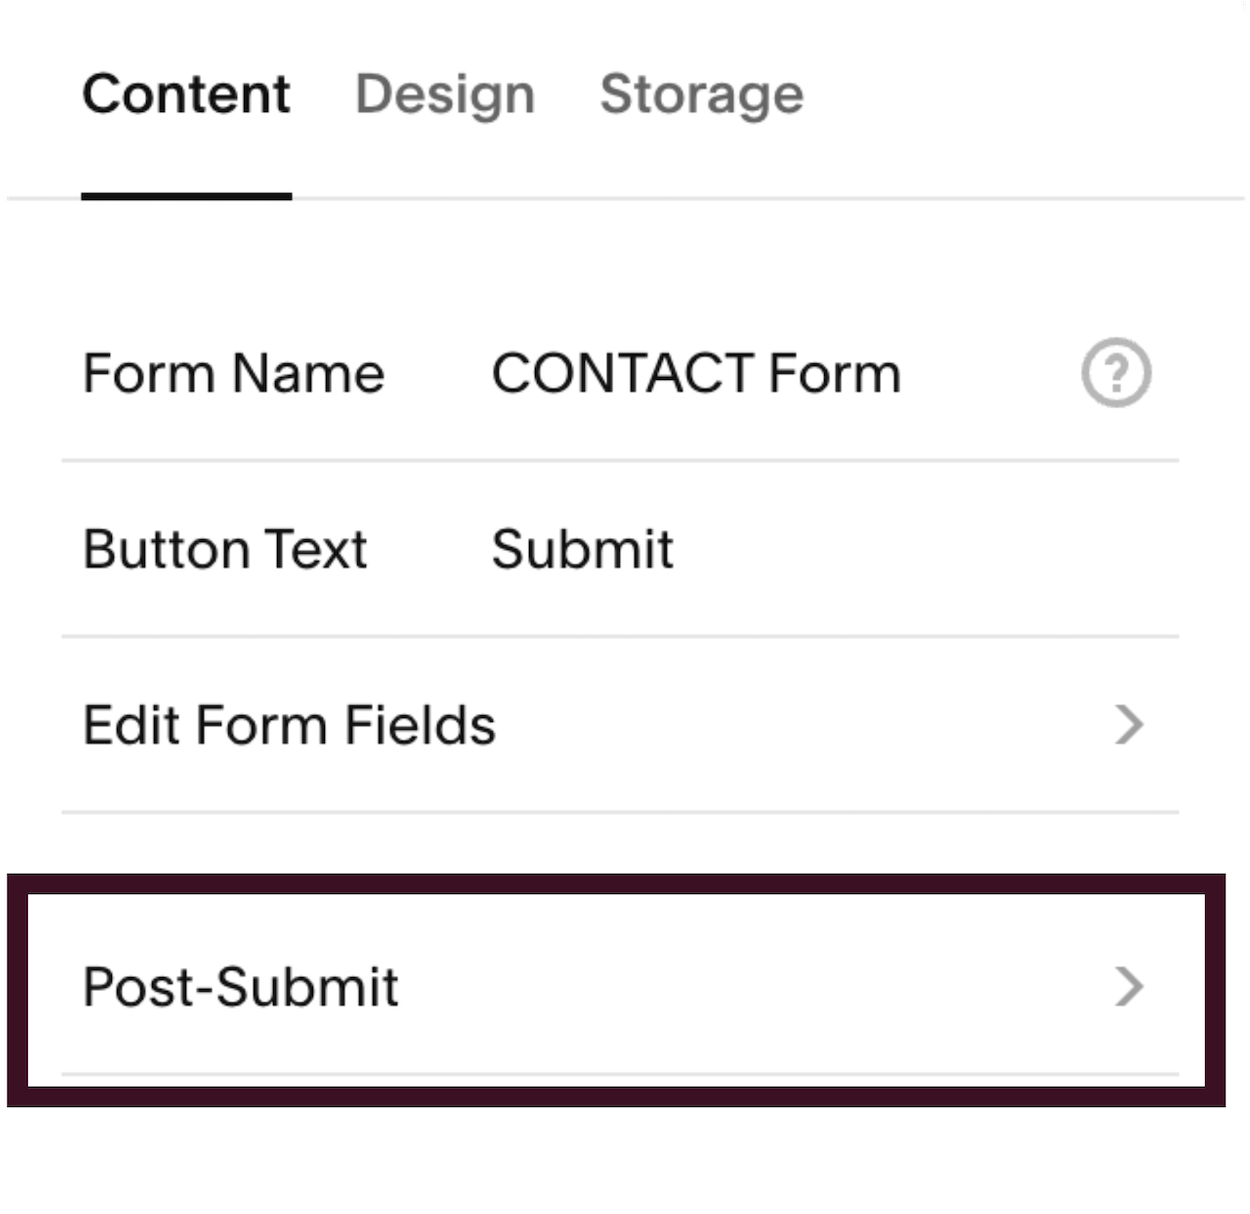
Post Submit Options for Squarespace Forms
Once your website visitors have filled out your form and submitted their answers, you’ll want to thank them.
There are a couple of ways you can do this. You can access these options by going into Edit mode and clicking on the Form Block, then the pencil icon, then Post-Submit.
The first option is to simply add a message that will pop up in place of your form after they’ve submitted their answers. The default message on Squarespace says ‘Thanks!’, but you can change this to say whatever you want it to say. If you choose the message option, I recommend that you do change the default message to say something a little more personal e.g. ‘Thank you for filling out the form - I’ll be in touch within 48 hours.’
The second option is to redirect your visitors to another page entirely. You can customise the page however you like, put on a thank you message and use it as an opportunity to keep your visitors on your website a little longer by guiding them towards a blog / portfolio or a landing page for a freebie.
You can read my full guide on How to Design a High Converting Landing Page here.
Whatever you decide to do as your post-submit option, make sure you test it before your form goes live so you know your visitors will be shown what you want them to see after they have submitted their answers.
Form Blocks in Squarespace: The Bottom Line
Using Form Blocks on your Squarespace website is a simple but powerful way to connect with your audience, capture valuable information and create a smooth customer experience. By utilising the various types of form fields that Squarespace has to offer, you can turn your website into a tool that truly works for your business.
My free Squarespace Website Checklist has all the steps you need to take in order to design and launch your own website - including a whole section on Form Blocks. You can download it here.
For more website tips and Squarespace walkthroughs, subscribe to my YouTube channel.
Found this post useful? You’ll also like:
◇ 15 Premium Squarespace Template Shops
◇ How to Create a Custom ‘404 Not Found’ Page in Squarespace
↓ Liked this post? Pin it to Pinterest ↓