How to Choose Images for Your Website
*Disclosure - this post contains some affiliate links. This means that if you click on my link and then go on to make a purchase, I will receive a small amount of commission at no additional cost to you.
The images you choose for your website can either make or break the effectiveness of the overall design, and therefore the effectiveness of your website as a whole. Visuals are the first thing that your website visitors will see and process on your website and so it is important they they are thoughtfully chosen. The images you choose for your website will convey your bran’s personality, showcase or highlight your services and products and give your website visitors a chance to get to know you.
Pictures on a website are also crucial from a design perspective. They add visual interest, help to break up large portions of text, and can guide the user’s attention towards calls to action or other parts of the website.
It can be really difficult to know what makes a good image for a website and where that image can be used. This blog post will give you some guidance on how to choose images for your website and where you can source them.
What Makes a Good Image for Your Website?
Before you begin to choose images for your website, it’s a good idea to know about the technical and practical requirements for website images. The format, orientation, size and resolution of the images you choose will all have an impact on the overall design of your website as well as user experience.
Image File Formats for Websites
The most common image file formats tht you will come across are .jpg and .png. As a rule of thumb .jpg should be used for photographs and .png for graphics such as logos or line illustrations. Occasionally you may need a different format such as .gif if you have an animated image.
The Ultimate Guide to Image File Formats goes into more detail on image file formats and which formats to use when. I recommend reading this if you’re unfamiliar with the various formats and knowing this information will help you to choose images for your website.
Orientation for Website Images
A lot of the images that get used on a website are landscape, in a letterbox shape. Landscape images fill the width of the screen without descending too far down the page. Landscape images are also a lot easier to crop down to fit into a given space on your website while still maintaining the focal point, but it is a lot harder to do this with portrait images.
One of the common exceptions for this is your headshot. Headshots on websites are usually portrait or cropped to be square. There may be other circumstances where portrait images can be used too, but a portrait image is a lot easier to generate from an image that was originally landscape. It’s a lot harder to do the other way around.

This landscape image is easy to crop to either a letterbox shape image, or a portrait image.
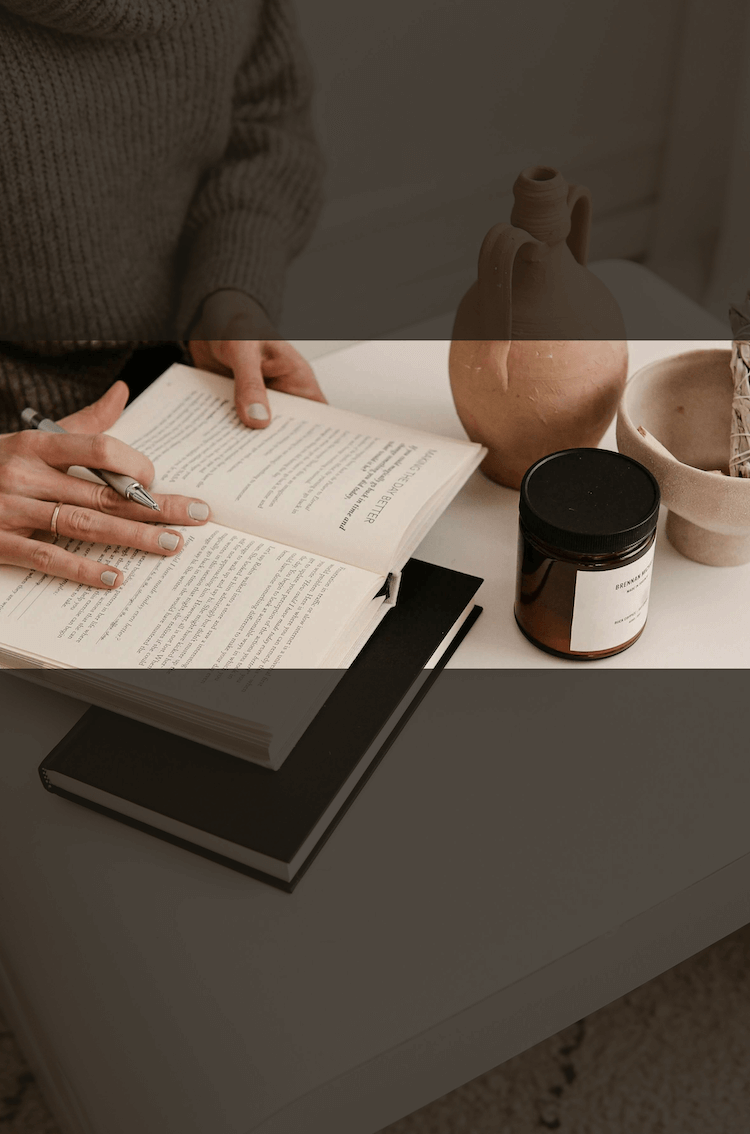
This portrait image is difficult to crop into a letterbox shape image without cutting off some of the objects in the picture.
When you’re curating an image library for your website, be sure to include plenty of landscape images.
Focal Point and Space on Images
When choosing the images for your website, it’s important to consider where and how it’s going to be used on your website.
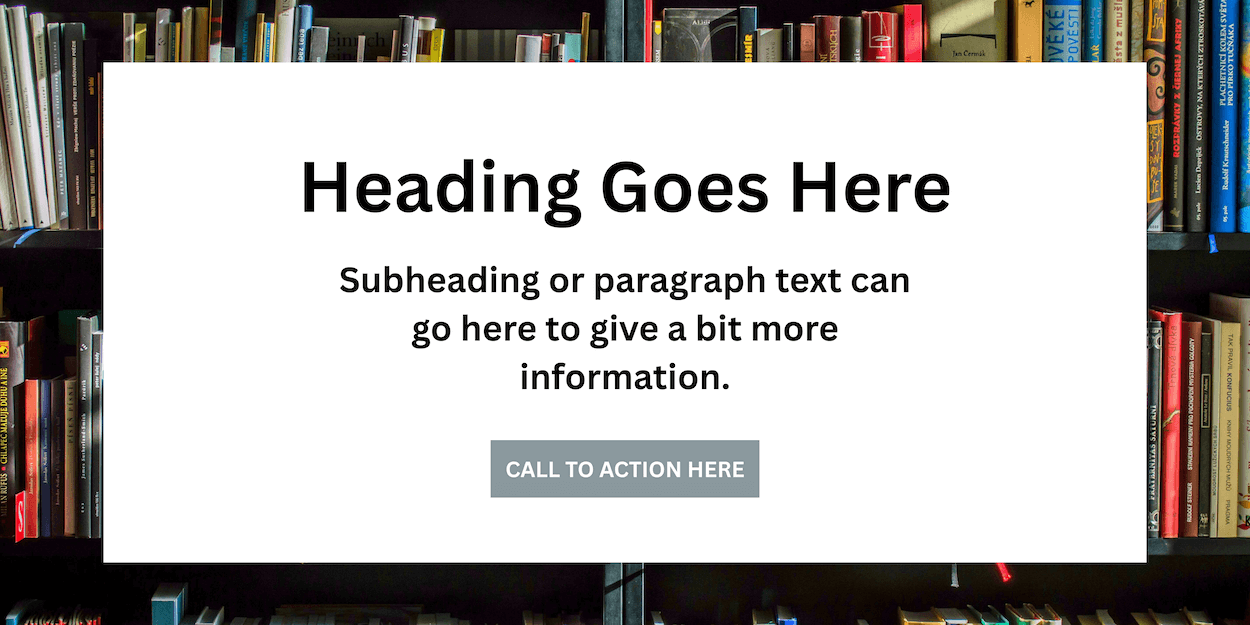
For example, a banner image with text overlay shouldn’t be too busy. You want the background for the text to be relatively plain so the text can really stand out.
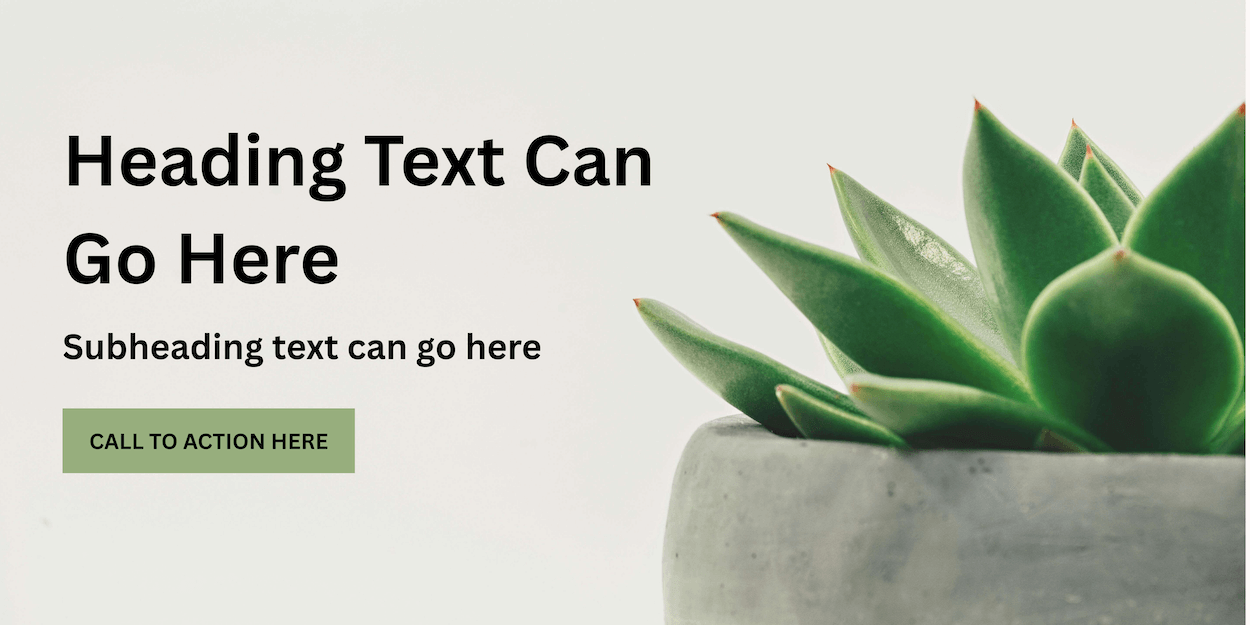
However, if you’re set on using a busier image for a banner image you can add a solid colour background to your text to make it more readable.
If your banner image contains a focal point such as a person or an object, consider the placement of that focal point and make sure that the focus of the image isn’t going to be hidden under the text.
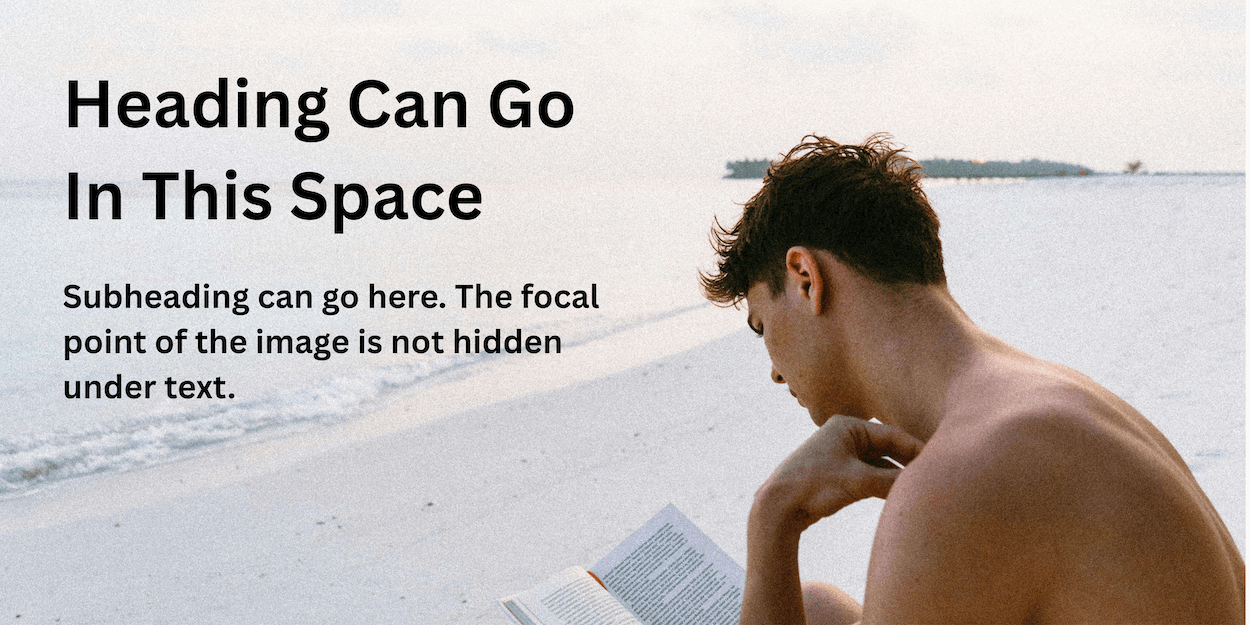
The focal of this image (the man reading a book) is set off to the right. This leaves a big space to the left where text can be overlayed without competing for attention with the focal point.
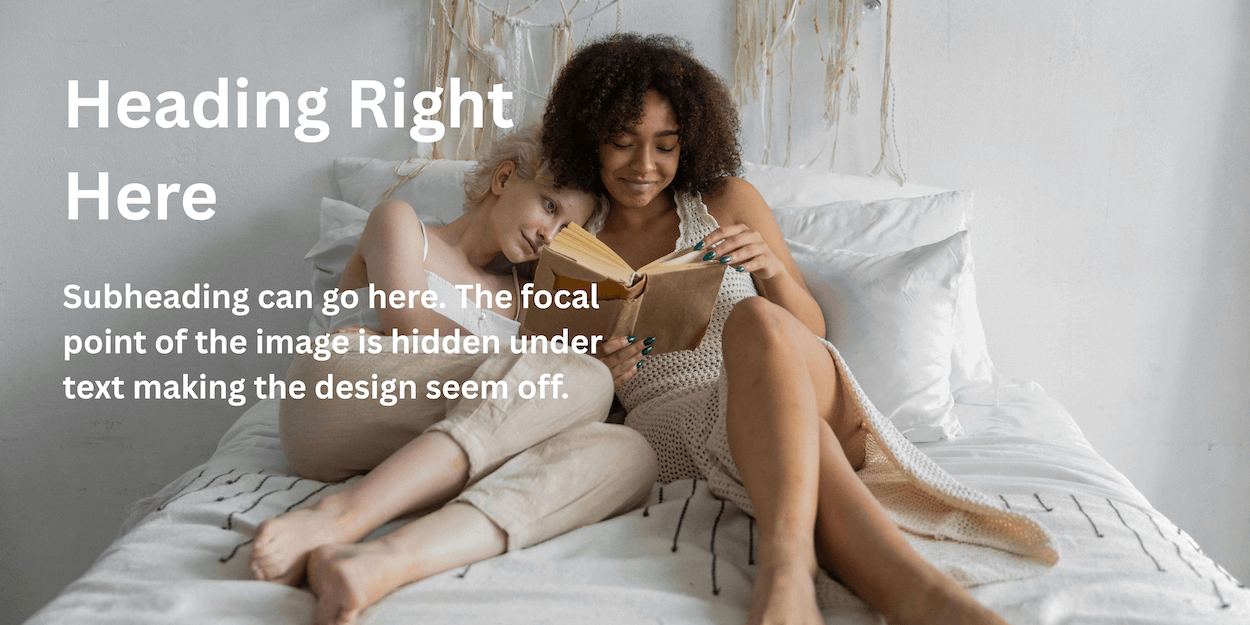
The focal point of this image (two ladies reading a book) is in the centre. Overlaying text on top of this image strategically is difficult because no matter where you put the text it will compete with the focal point.
Best Resolution for Website Images
When designing your website, you want to use the best quality images, but large image files can slow down a website loading speed which is not only frustrating for your website users but can also negatively impact your website SEO.
It’s always best to start with the best image quality as possible and a larger file size. It’s relatively simple to make the file size smaller without having any visible impact to the quality of the image, but you can’t make a small image file bigger to improve image quality.
A website designer will handle the compression of images for you, but if you’re building your website yourself free tools such as TinyPNG do a great job of compressing images.
You can read more about the how to make image files smaller in How to Optimise Website Images for Your Squarespace Website.
Where to get images for your website?
Brand photography shoot
The easiest way to get unique and tailored images for your website is by hiring a photographer for a branding shoot. You can liaise with the photographer beforehand to ensure that you get the exact photos you need, from head shots to behind the scenes photos, and product or service images.
A good photographer will tailor the shoot to match your brand’s style and ensure that the images truly reflect your brand identity, and you will have a library of images that you can pull from for years to come, saving you a ton of time hunting down the perfect image. Hiring a photographer also ensures that your images will be of excellent quality which will enhance your overall website design.
However, hiring a professional photographer for a full branding photoshoot comes with a price tag and it’s not always realistic for those just starting out in business. It’s also very time consuming as you need to plan the location of the shoot, outfot cahnges, props and a shot list beforehand and often take a day out of work for the photo shoot itself.
Stock Photography
Stock photos are professionally shot images available for licensing. Using stock photos are a great way to get good quality and polished images on your website without the price tag of hiring a photographer. Even if you have professional headshots, you can supplement those with stock photos on your website.
The biggest consideration when using stock photography is licencing. It is essential that you secure the rights to use any stock photos that you source on your website if you don’t want to be met with a hefty fine.
If you are providing stock images to a website designer - they will take it in good faith that you have also secured the rights to use the images on your website.
There are a number of places that you can source your stock images:
Unsplash (free)
Pexels (free)
Styled Stock Society* (paid)
Shutterstock (paid)
You can read my Honest Review of The Styled Stock Society here.
Using AI to Generate Images for Your Website
AI can be a huge help when it comes to getting together images for your website. You can create bespoke images in a wide range of styles from photorealistic to illustrations by using a good AI image generator.
Licencing is a key consideration here. Make sure you are using a licenced AI image generator. And don’t put unlicensed images into an AI generator to make them unique - that still breaches the image license.
Midjourney is a great AI tool which uses prompts to generate unique images.
Storing and Organising Your Chosen Website Images
Once you have chosen the images you want to use on your website, it’s important to store them in an organised way. This goes for if your building your own website or if a designer is doing it for you.
Arrange your images into different folders for different pages, or into folders for different images types such as ‘product shots’ or ‘team photos’.
Also make sure you name your images so they can be easily found when it comes to the website build. So instead of your images being called ‘IMG0012765’ - give them a name that is relevant to the image like ‘wedding-bouquet’. Separating the words in an image name by a hyphen is best practice for SEO, but if you’re working with a website designer they will take care of this for you. Just be sure to give each image a relevant name in the first place!
I go into more detail about naming images in this blog post: How to Optimise Website Images for Your Squarespace Website.
If you are working with a website designer it is best to get your images to them as soon as possible so they can look through and check if there are any gaps or if they need further guidance on what images to put where.
How to Choose Images for Your Website: The Bottom Line
Images are such a crucial part of your website that is important to choose them well. This blog post should give you some guidance on what to look out for when choosing images for your website - from image file formats, to file size, to where to get your good quality images from.
When starting to source images for your website, cast a wide net. Save anything you think might work. Then you can refine your selection afterwards to create an image gallery that is cohesive and works with your branding and business.
Designing and launching a Squarespace website doesn’t have to be stressful! Download my free Squarespace Website Checklist and follow the step-by-step system I use with my clients to make sure every site looks polished and professional.
Plus, check out my YouTube channel for website tips and Squarespace tutorials guiding you through each step in the checklist.
↓ Liked this post? Pin it to Pinterest ↓